After decades of home baking and years of professional recipe testing (both for other bloggers and my own site), I’ve learned a thing or two when it comes to baking! So today, I’m sharing all my Expert Baking Tips so you can bake like a pro, too!
Baking is a form of self-care. It should be meditative and fun – but if you’re experiencing baking fails, those moments of self-care become frustrating quick!
These are all my TOP baking tips, arming you to solve all the biggest and most commonly-occurring issues in the kitchen – but if you’re looking to solve specific issues, check out my How to Bake the Perfect Cookies post and my How to Prevent Dry Cake post.

Buy a Digital Kitchen Scale!
This is always my #1 Expert Baking Tip to anyone who enjoys baking. Using a scale is the absolute best way to improve your baking.
Cups are subjective to a wide array of factors, such as your method of scooping and packing vs. spooning, levelling, sifting vs. not sifting, and much more – AND not all cups are made exactly the same size! A cup of flour scooped and compacted into your measuring cup can weigh 30 grams more than a cup spooned into the measuring up and levelled. That’s a LOT of unwanted extra flour in your bake, causing cookies that won’t spread, dry brownies, sandy cakes, or flavorless blondies.
Seriously. Buy a scale – it’s the very best thing you can do to improve your baking. Find my brand recommendations on my Essential Baking Items page.
Substitutions in Baking
This is one of the biggest issues baking professionals see in the wild. We take hours to test and re-test our recipes, and readers change ingredient amounts or the ingredients themselves on a whim (or out of necessity), without understanding the very real repercussions that can have on a recipe.
Do NOT substitute ingredients or alter quantities. The first time you make a recipe, make it exactly as written! Then, if you want a different outcome, try one little tweak at a time with each subsequent batch. This will give you a better understanding of how ingredients impact a recipe, and give you better control over the outcome.
The quantities listed in a recipe are designed specifically to balance and work together to make a great baked good.
Baking is chemistry: for example, baking powder and baking soda/bicarb are two very different things; white and brown sugars contain different levels of molasses and alter more than just flavor in a recipe; different flours are used for different things, such as crumb structure, density, or gluten development. PLEASE, do yourself a favor and just make the recipe as written.
Also, home baking is supposed to be an indulgence! If you need to suit dietary needs, there are plenty of recipes out there designed specifically to use sugar substitutes, healthier options (apple sauce instead of oil, for example), gluten-free, egg-free, etc – so I highly recommend researching and finding recipes designed for these things, rather than adapting regular recipes.
Read Recipes Completely Before Beginning
Before you bake a new recipe, read the full recipe thoroughly from start to finish. I know that sounds obvious or unnecessary, and I admit I’m guilty of not always doing this … but when I’ve messed up, it’s usually because I didn’t read the recipe properly!
I also recommend mise en place, which is a French term for measuring out your ingredients before beginning. This makes baking easier, ensures you have everything on hand before starting, and minimize the risks for mistakes in misreading quantities as you go!
Don’t Trust Timing. Trust Visual Cues!
Every oven has its own personality, so they all bake very differently. Recipe authors can’t know your own oven’s quirks, so always use the timing in recipe as a mere guideline. Learn to look for:
- For cookies: Golden brown edges that look set, while still slightly damp in the middle (residual heat from the pan will finish baking them to perfection
- For cakes, cupcakes, and brownies: Insert a toothpick in the middle of the pan. It should come out with a few moist crumbs (not wet batter). Completely clean skewers can mean you’ve overbaked.
Only Bake One Sheet At a Time
Baking more than one sheet at a time may burn the bottom sheet or underbake the top sheet because the air can’t properly circulate around both. Bake one tray at a time, always on the middle shelf of the oven.
Buy an Oven Thermometer!
Use an Oven Thermometer to take the guesswork out of preheating your oven. Most home ovens are not really heating to the correct temperature, and can be WAY over-heating or under-heating, impacting your baking more than you may think.
Ovens generally take longer to preheat than the buzzer indicates, so using an oven thermometer ensures you’re baking at the correct temperature.
Parchment Paper Is Your Best Friend
Never EVER grease your cookie pan. Silicone mats are fine – but parchment paper is better. It:
- Prevents sticking completely
- Promotes even baking
- Makes cleanup ridiculously easy
Once you start using parchment regularly, you’ll never go back.
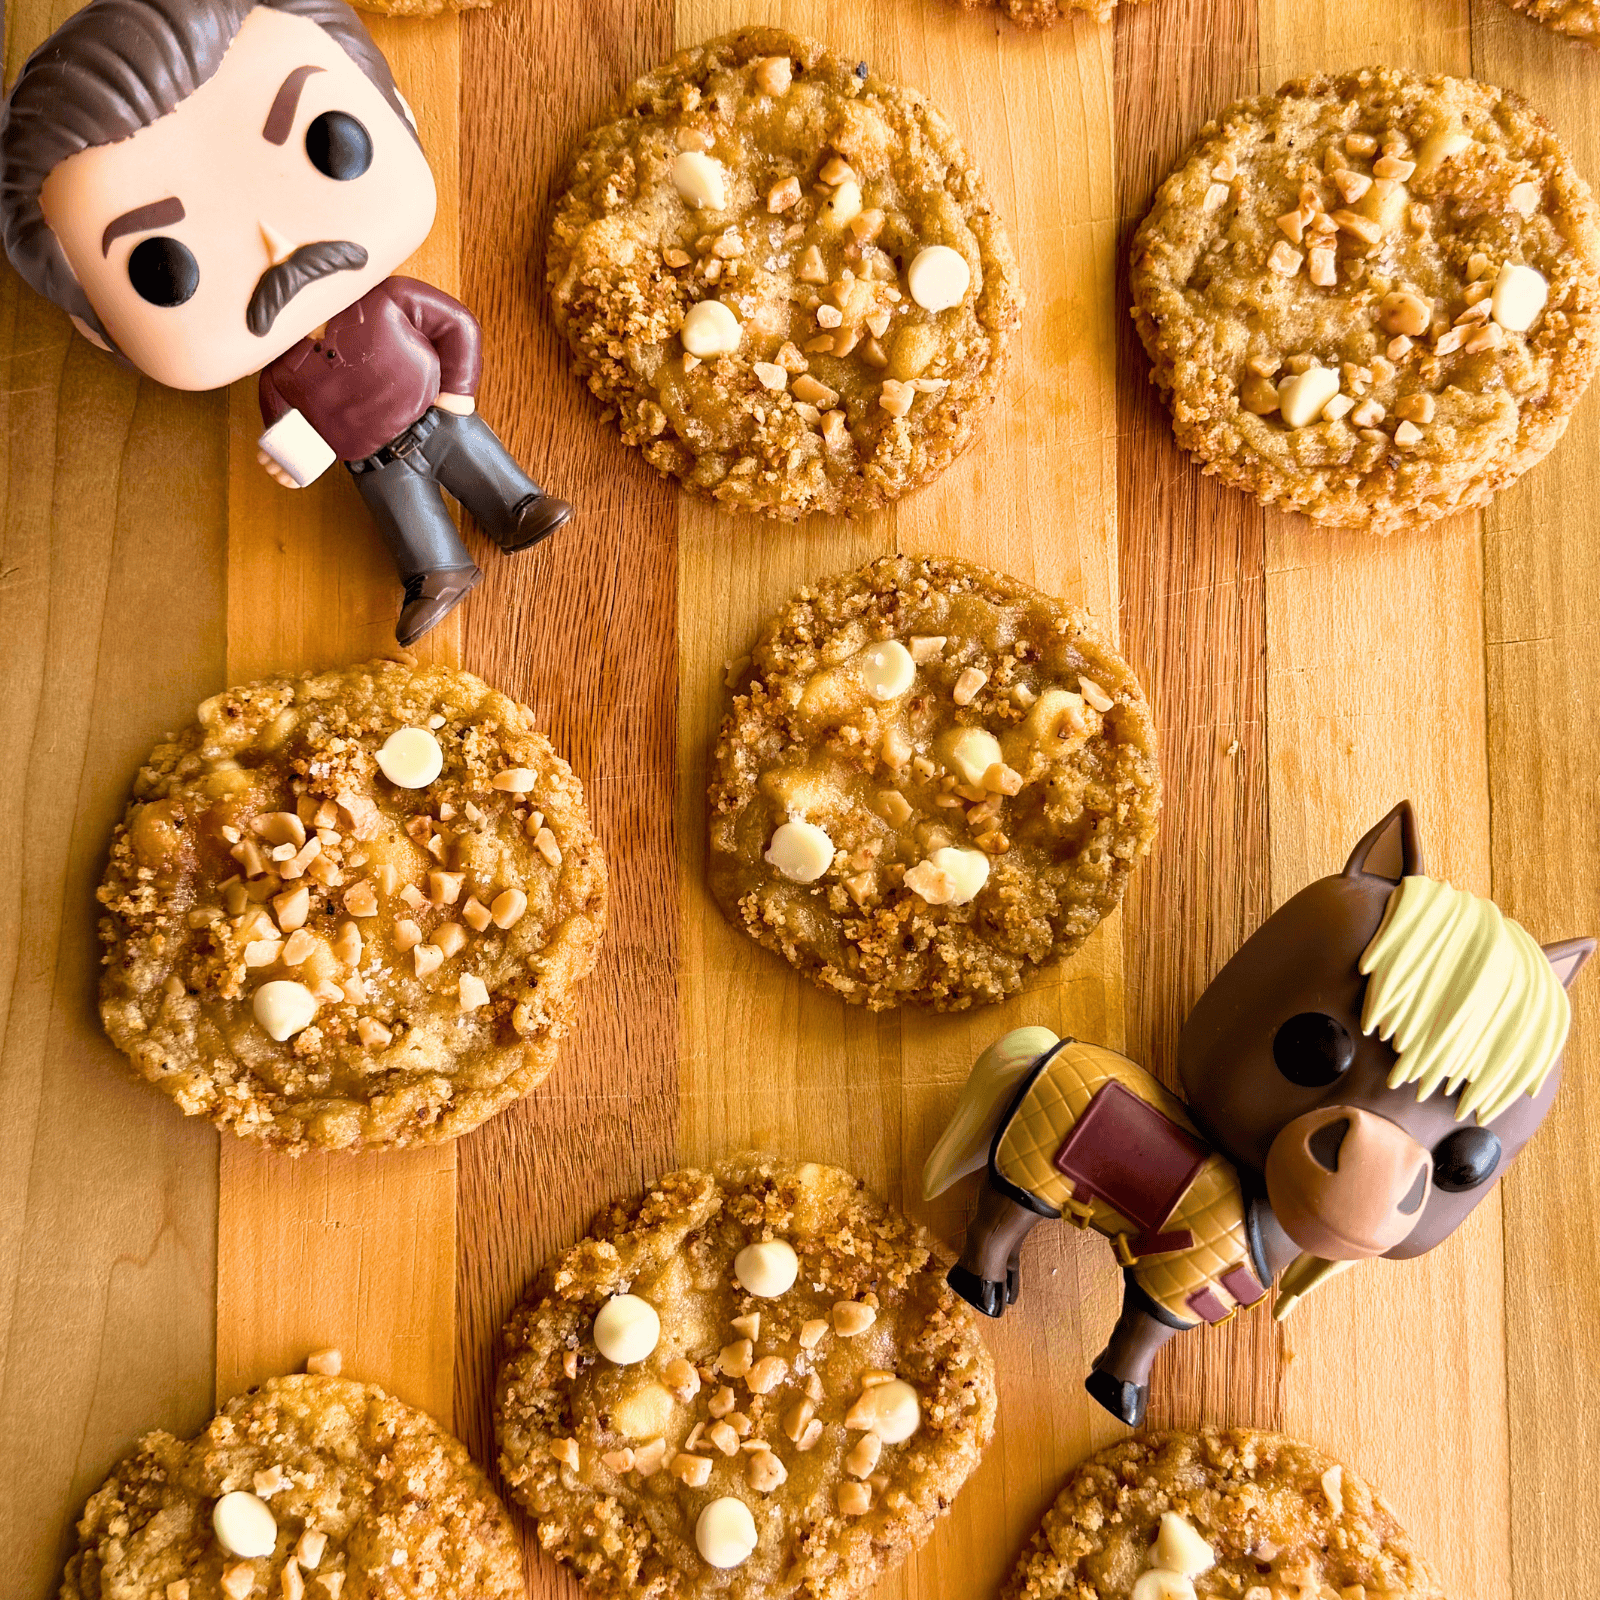
Chill Cookie Dough Before Baking (and not just for a bit)
This is something I know people hate doing, but I promise, it’s worth the wait. Chilling cookie dough for 24-48 hours does so much:
- It gives the flour time to hydrate as it absorbs more of the liquid in the recipe, for a thicker cookie with a chewier middle and crisper edges.
- It also allows the flavors to kind of mingle and meld together, giving your cookies SO much more depth of flavor.
- So you get textural AND flavor benefits!
Don’t believe me? Bake off a few cookies right after preparing the dough, and cover the rest of the batch well with plastic wrap, and chill for a day. Bake off a few more the following day and compare each version! You know, for science.
And to answer your question, NO, freezing for an hour does NOT work the same way. Learn more about that in my How to Freeze Cookie Dough post.
Help, My Cookies Are Misshapen!
Firstly, chilling the dough for 24 hours (as mentioned above) will help keep your cookies nice and thick and uniform – especially if your recipe used melted or browned butter.
But if your cookies are still misshapen, which can happen with a lot of mix-ins or a variety of other issues, here’s a trick I’ve used for years: Take a round cookie cutter that’s slightly bigger than your cookies and swirl it around each cookie’s edges right after they come out of the oven. This not only ensures perfectly round, uniform cookies, but also helps ensure thicker cookies!
Interpreting What Recipe Authors Actually Mean
- Unless otherwise stated, always use COOL room temperature butter in baking. If your butter is too warm, the creaming process cannot work properly. Your butter should be just warm enough that it will indent if pressed, but your finger will not totally sink. For precision, take its temperature with a digital instant-read thermometer – it should be around 65°F / 18°C at the time of creaming.
- Unless otherwise specified, always use large eggs, about 55-60 grams in shell. Learn more about Eggs in Baking here.
- Only trust recipes written primarily using weight measurements in grams. Cups are simply not consistent and leave too much room for error.
Toast Your Nuts!
Any time a recipe calls for nuts, toast the nuts first. I like to toast my nuts on a baking sheet, spread out in one even, thin layer, and toast at 400°F / 205°C for a few minutes. Be sure to watch them like a hawk as they can burn quickly and easily. Pull them out the moment they’re golden brown and smell nutty.
You can also toast them in a dry skillet over medium heat, if preferred.
Pie Crust Tips
- Ensure your ingredients are VERY cold and keep them cold
- Work quickly. Use a food processor or a pastry cutter to avoid the warmth of your hands melting the butter
- Chill the pastry overnight before rolling out, then chill again before baking. This gives the gluten time to relax, and ensures cold dough when it hits the oven
- If par-baking, use several packs of baking beans so your pie crust is filled to the absolute brim. This prevents the crust from slipping down as it bakes. Rice, dry beans, or even granulated sugar work well if you don’t have baking beans – just be sure to use parchment or non-stick foil to line the pastry before pouring in your pie weights.
- Learn more in my Homemade Buttery Pie Crust post!
Other Helpful Baking Tools
- Buy yourself a roll of disposable piping bags. It will help with SO MANY things in the kitchen. Re-useable ones hard to clean. A roll of 100 bags is inexpensive, will last you ages, and they’re well worth the small investment.
- Use a cookie scoop to portion out dough, for even, perfectly-portioned cookies. This not only looks nicer, but also ensures all your cookies will bake evenly.
- Never use glass, ceramic, or silicone pans for baking, as these materials cannot conduct heat well. Also avoid dark metals as they heat too aggressively. Invest in light-colored metal baking sheets and pans for all baking.
- Find all my product recommendations on my Essential Baking Items page.
The Quiet Baking Mindset Shift
Keep notes – whether in a notebook or on a digital saved copy of the recipe. It’ll help you start to clock subtle differences and little things that make a world of difference. Once you start paying close attention to everything and noting it, you’ll start to notice textural changes. This is truly how you stop guessing and start adjusting based on knowledge.
And that’s when baking becomes way more fun (and way more successful)!
Do you have more Expert Baking Tips? Drop them in the comments below! 🙂