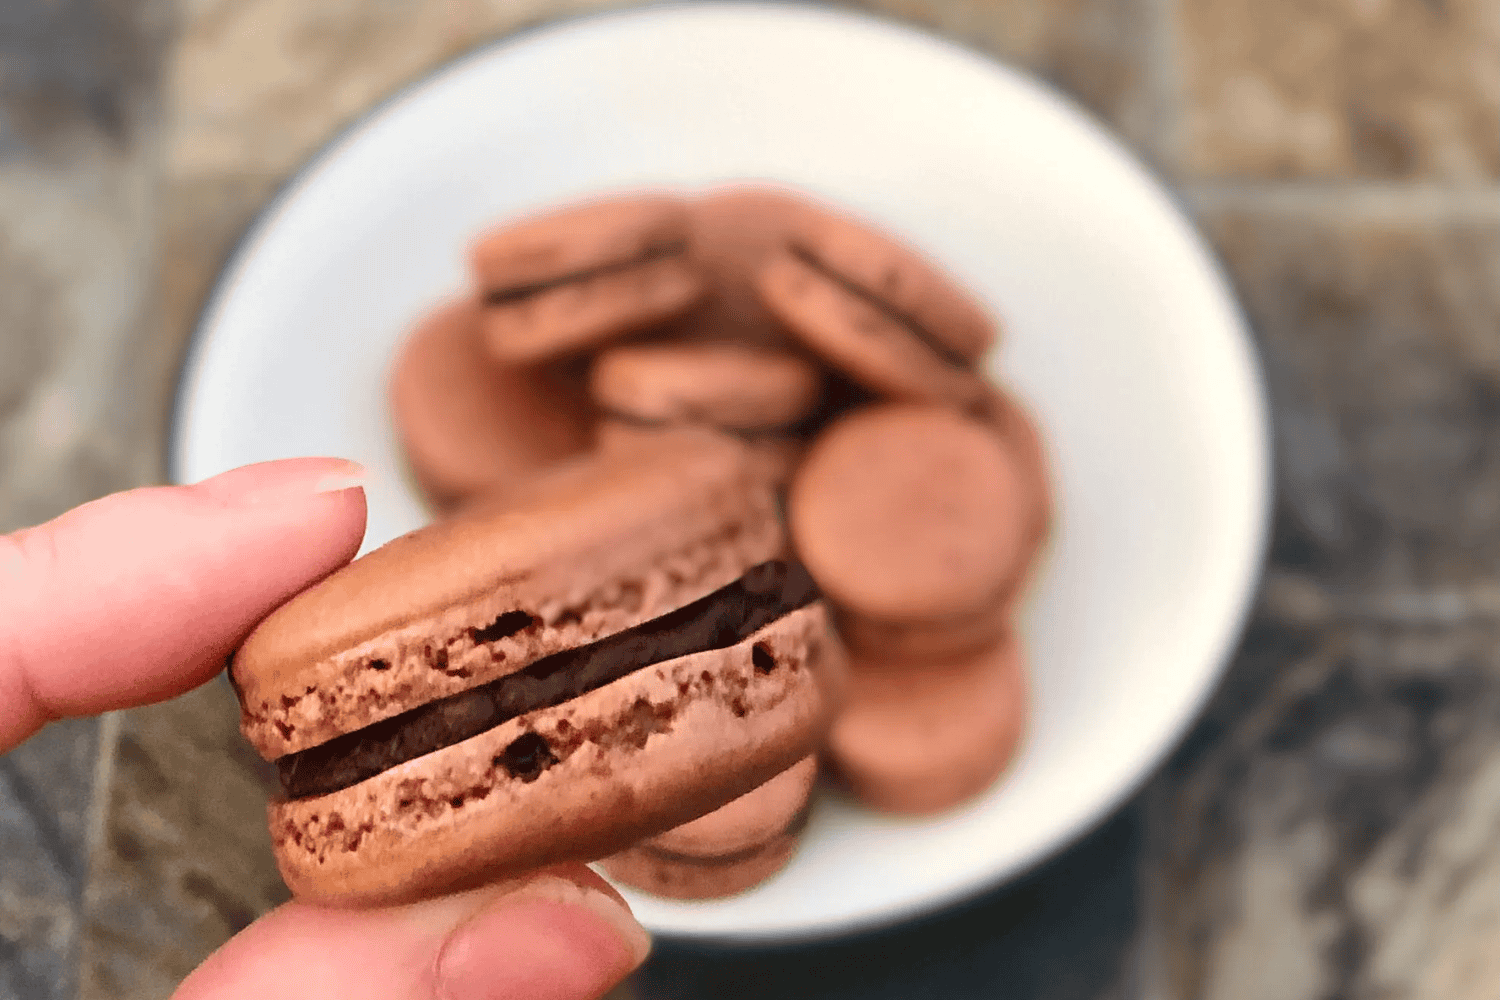
Dark Chocolate French Macarons are one of my very favorite desserts in the world!
After trying one in Paris a few years ago, I knew I just HAD to recreate these perfect little bites of decadence in my own home.
French Macarons are well-known to be a difficult bake, but with some practice, they’re not so scary – and they’re so delicious that it’s totally worth the effort!
These French macs are delightful when filled with my dark chocolate ganache, but if you want to switch it up, go for it! Want a little jam in the middle? Sure, why not! Fancy a Swiss Meringue Buttercream instead? Be my guest! Just be sure to follow the actual macaron shell recipe closely.
These particular macs are dark chocolatey, indulgent, and subtly nutty. They make a delicious dessert, a perfect accompaniment to red wine, or even work nicely as part of a cheese board (dark chocolate and a mild, creamy blue cheese pair SO well).

Humidity is Not Your Friend When Making Macarons
Don’t try to make Dark Chocolate French Macarons (or any macarons) on a humid day. They’ll never dry out, and therefore won’t rise and get the “feet” desired.
Do I *Really* Need to Sift Twice? Or at All?
It’s truly my least favorite part of the process, so I wouldn’t make you do it unless I believed it to be a crucial step. But, unfortunately, it’s vital here. Skip sifting and you’ll have weird bumps and awkward shapes that don’t bake up round. After all, if you’re going to go through all this effort, do it right!
Do I Have to Age my Egg Whites?
I used to do this – but I completely forgot a few times, and honestly, it made no difference in my macs. If you prefer to age your egg whites, please go right ahead – but I don’t find that it matters.
How Many Eggs do I Need?
Because macarons need a very specific ratio of ingredients, I have given a weight for the egg whites (and everything else!), rather than a number of eggs needed. Egg sizes vary from country to country, and it’s far more accurate to weight your egg whites.
Kiersten’s Tip: Anytime I bake a recipe asking for an extra egg yolk, I place the leftover egg white in a labeled Ziploc bag in my freezer. I then accumulate these egg whites over time, so whenever I need to make French Macarons, Swiss Meringue Buttercream, or meringues, I have a stash I can just thaw, measure, and use! Egg whites freeze and thaw perfectly, so this tip comes in handy for me time and time again.
Can I Use Pasteurized Egg Whites?
I haven’t tried that here, but since macarons are SO finicky already, I wouldn’t recommend it.
Help! I Overmixed my Macaron Batter!
I have included a bunch of tips and visual clues to help you avoid this – but it can still happen. There’s no magic fix, I’m afraid – but you can still go ahead and pipe and bake your macs. They will likely not hold their shape, they may not develop any feet as they bake, or will be hollow – but they will still taste great!
Oh No, My Macarons Cracked!
If your macarons cracked as they bake, they likely did not dry out enough prior to baking. They need to be completely dry to the touch before baking, and unfortunately, there is no rushing this process. I’ve tried, believe me! Just be patient and let them sit as long as they need to be dry before baking, to avoid cracked, hollow macarons with no feet or lopsided feet.

More Chocolate Bakes You’ll Love:
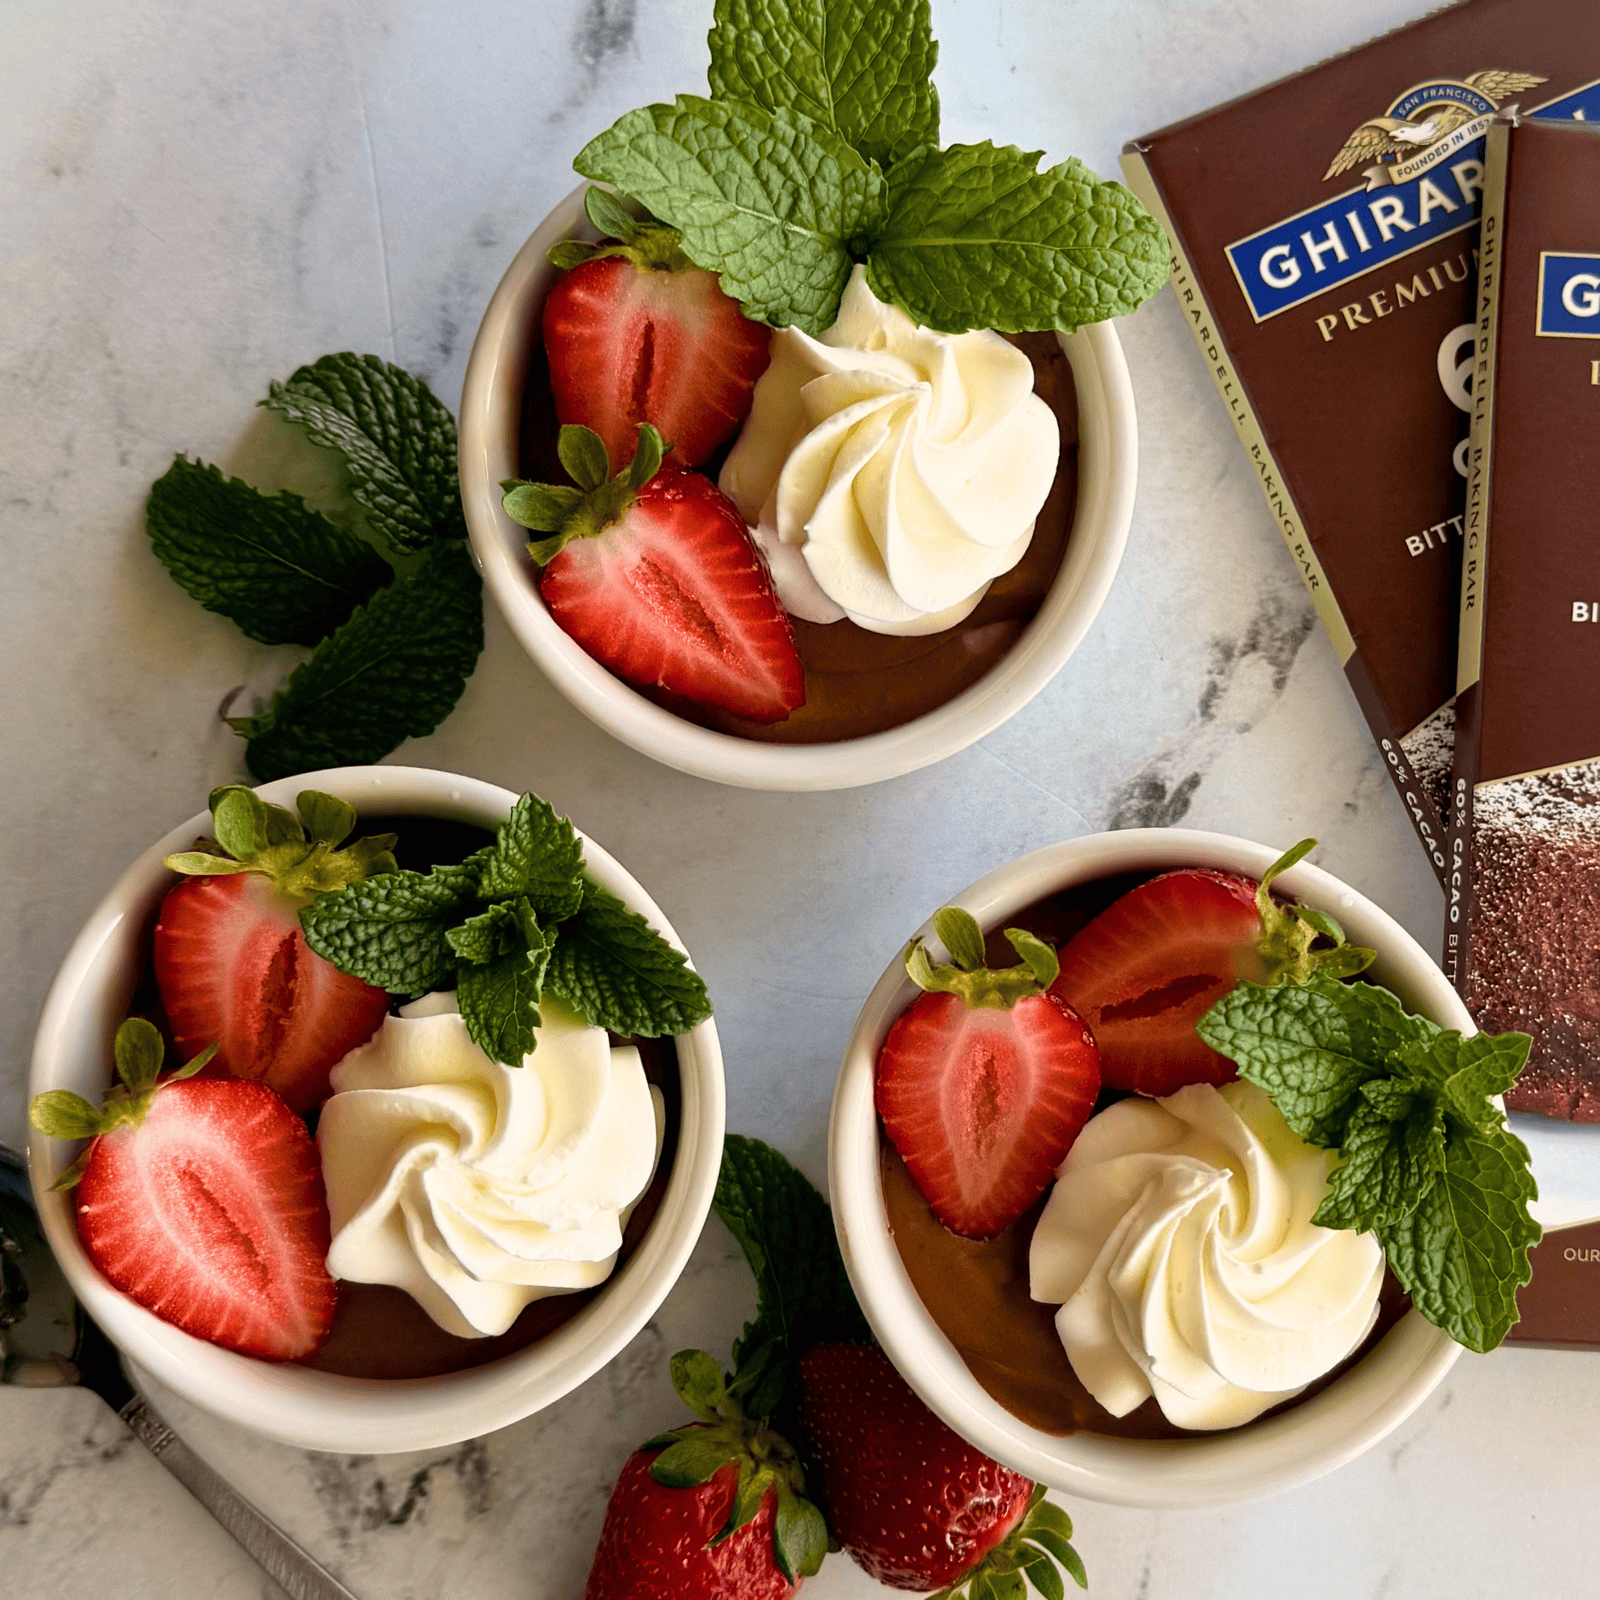
- French Chocolate Mousse – my other favorite French treat!
- Biscoff Double Chocolate Chip Cookies
- Fudgy Double Chocolate Chip Cookies
- Easy Homemade Brownies
- Chocolate French Silk Pie

Dark Chocolate French Macarons
Ingredients
For the Macarons:
- 50 grams almond flour, aka ground almonds
- 115 grams powdered sugar
- 10 grams cocoa powder, either Dutch processed or natural is fine
- 58 grams egg whites, at room temperature
- 28 grams granulated sugar
For the Dark Chocolate Ganache:
- 110 grams heavy cream
- 145 grams bittersweet chocolate, finely chopped
- 1 teaspoon vanilla
Instructions
To Make the Macarons:
- Place the ground almonds, powdered sugar, and cocoa powder in a food processor. Blitz thoroughly until you have a pretty fine powder. Sift twice, to be certain there are no lumps remaining. (You can do this in batches, especially if your food processor and/or sieve are smaller. Blitzing and sifting in batches ensures it's all ground finely and evenly.) Set aside.
- Place egg whites in a large bowl, or the bowl of a stand mixer fitted with the whisk attachment, and mix on medium speed. Scrape down the sides and bottom of the bowl periodically.
- The egg whites will get foamy, and eventually thicken up and turn to soft peaks. At soft peak stage, start to add the granulated sugar. Add a little at a time, in 3-4 increments, as the egg whites continue to whip.
- Be VERY careful not to over-whip your whites. Stop your mixer once they are thick, glossy, and starting to form moderately stiff peaks. If you lose the gloss, or they start to look clumpy, you have likely overwhipped your whites.
- Pick up a little of the meringue and rub it between two fingers. If you can feel any grittiness from the granulated sugar, whip again for 30 seconds and try again. Keep doing this, in short spurts, until it feels perfectly smooth and no grittiness is detected. Remove from mixer.
- Add about 1/3 of the almond mixture into the meringue.
- Start to carefully fold the almond mixture into the meringue mixture, being careful to FOLD and not stir. You want to retain some of the aeration.
- Add the remaining almond mixture, in two batches. Continue to carefully fold.
- As you fold, you're looking for a very specific consistency here. You can always mix more, and continue to deflate the mixture, little by little – but you can't ADD more aeration once you've knocked it all out. Keep that in mind as you continue to fold.
- Consistency Visual Cues: Think flowing lava; thick, but not runny, and not solid. If you pull up your spatula and draw an "S" into the bowl, you should see it slowly dissipate back into the mixture over about 10 seconds. If the pattern stays exactly as is, give the mixture a few more passes with your spatula. If the mixture flows too quickly, and the pattern you drop dissipates immediately, I'm afraid you've gone too far and there's no going back.
- Prepare two thick-based light-colored metal baking sheets with parchment paper. Draw circles about 1 inch in diameter on the back of parchment paper, or use a macaron template (Google this – plenty are available for free!) to assist. I like my macarons about 1.5" in diameter.
- Carefully transfer batter to a disposable piping bag (I prefer a larger 18" bag) fitted with a large, round/plain piping tip.
- Pipe the batter carefully into your traced circles.
- Once piped, pick up the sheets a few inches off the surface of your workbench, and drop it a few times. This releases any large air bubbles, and helps the batter even itself out (so you won't see any lumps on the surface from piping).
- After a few drops, if you still see a little bump on top from piping, wet your finger just a tiny bit, and gently press the bump down.
- The second most important step: drying! You need to let the piped macs sit for at least half an hour, and potentially much longer (depending on the humidity level of your kitchen) to let them form a skin on top. You will know they are ready to bake when they feel dry to the touch when gently touched on top. If they still feel at all sticky, they need to sit longer. The drier the conditions in your kitchen, the faster this process will be.
To Make the Ganache:
- While the macs dry, make your ganache. Place chopped chocolate in a large heatproof bowl. Set aside.
- Place heavy cream in a small saucepan over medium-low heat. Once it just starts to bubble (scalding – right before boiling point), pour it over the chocolate. Add the vanilla. Cover with a kitchen towel and sit for 5 minutes. Whisk until combined. Ganache sometimes seems like it will take forever to become smooth and glossy, but it will eventually come together!
Bake the Macarons:
- Once your macs are dry to the touch, heat your oven to 300°F / 150°C. Bake one sheet at a time on the middle rack for about 14-16 minutes, rotating the baking sheet halfway through, to ensure even baking. Your macaron shells are baked when you can (very gently!) pull a them off the parchment paper. Carefully pick up the parchment from the corner and see if it peels back from the macaron with ease. If they still stick, bake another minute or two until they release more easily.
- Set the pan of macarons on a wire rack to cool completely. Repeat with the remaining tray.
- Once all macaron shells are baked and fully cooled, pair the shells up with their most similar counterparts (depending on how you piped your shells, you may have some slight inconsistencies in sizes).
Fill & Assemble the Macarons:
- Check that your ganache is the right consistency (pipeable, but not solid, and not runny – think the consistency of peanut butter). If it's still too warm, allow to set a bit longer at room temperature. If it's too firm, microwave for 5-10 seconds at a time and stir, until the ideal consistency is reached.
- Transfer ganache to a piping bag fitted with a small round tip. Pipe ganache on one shell, and carefully sandwich together with a second shell.
- Allow macarons to chill inside an airtight container overnight before serving. Macarons will keep, stored inside an airtight container in the fridge, for up to 1 week, or in the freezer for up to 1 month.