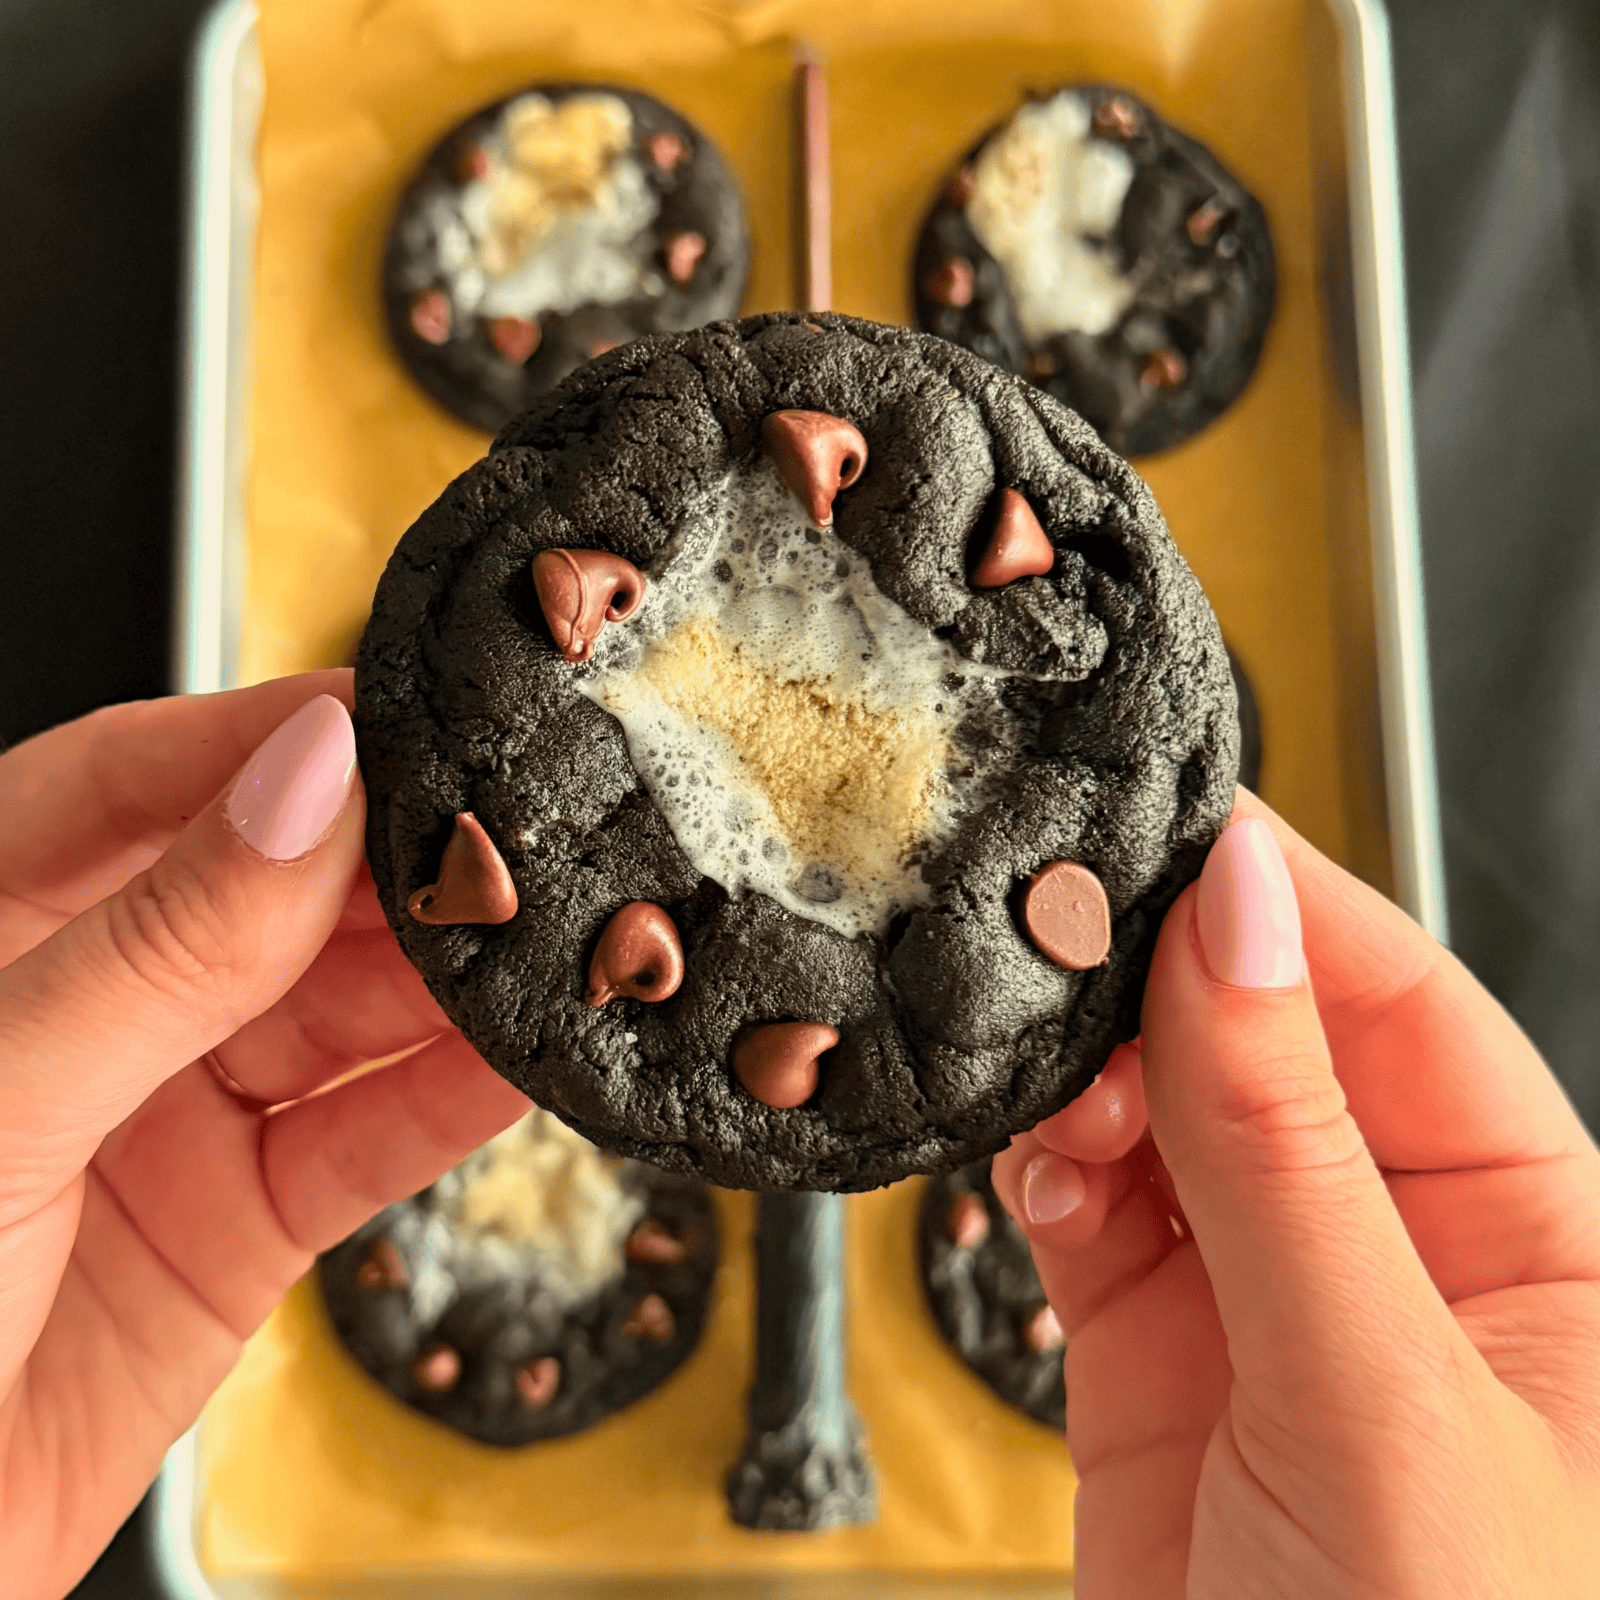
If summer had an official cookie, these S’mores Cookies would be it.
These babies are thick, chewy, loaded with tons of chocolate chips and Teddy Grahams, for that unmistakable ‘graham-cracker-and-chocolate’ vibe. But the real star of the show? A whole marshmallow tucked inside each cookie dough ball.
These cookies take everything I love about a classic s’more: the melty chocolate, the graham crackers, the gooey marshmallow … and channel that into a thick, bakery-style chocolate chip cookie – all without the need for a campfire? Say less!
And yes, I’ve replaced regular graham crackers with Teddy Grahams because:
- They’re adorable.
- You don’t have to chop them.
- A tiny bear-shaped cookie improves almost everything (obviously).
Whether you’re making these easy cookies for a summer party, a backyard barbecue, a movie night, or simply because you want a s’more without the fire-y fuss, these S’mores Cookies are sure to be a hit!

Why You’ll Love These S’mores Cookies:
- No campfire required. S’mores flavors, no fire-building skills needed.
- One bowl! Fewer dishes is always a win.
- Thick and chewy. Not so thick that they’re raw in the middle, but SO fun to sink your teeth into.
- A whole marshmallow in every cookie. Satisfying gooeyness to the max.
- Teddy Grahams = no chopping. Classic graham cracker energy, less work, and maximum cuteness. Plus, there’s something about their specific flavor that’s SO nostalgic to me!
- Quick and easy. Easy to make on a random summer afternoon.
Key Ingredients For The Best Thick and Chewy S’mores Cookies:
- Cold Butter: Cold butter takes longer to melt in the oven, which means the cookies have time to set before spreading much. This is one of my favorite tricks for thick, bakery-style cookies.
- Light Brown Sugar + Granulated Sugar: The perfect combo for moisture and flavor + the perfect amount of spread and edges that crisp.
- Eggs + Extra Egg Yolk: Adding an extra egg yolk boosts chewiness and richness. Don’t skip the extra yolk! Be sure to use large eggs – learn why in my Eggs in Baking post!
- Plenty of Vanilla: I firmly believe that plenty of vanilla is one of the secrets to bakery-worthy cookies.
- All-Purpose Flour: As always, avoid adding too much flour. Use digital kitchen scales to weigh your flour and take your baking to the next level – it’s as simple as that!
- Baking Soda + Baking Powder: For the perfect amount of spread and puff.
- Salt: Just a little, to balance the sweetness. Don’t skip it! I prefer fine sea salt in baking.
- Chocolate Chips: Any kind you prefer! Semi-sweet chocolate chips are my go-to to balance the sweetness of the marshmallow, but milk chocolate works perfectly – just note that milk choc will increase the overall sweetness. Sometimes I use a mix of semi-sweet and milk chips, for the best of both worlds!
- Teddy Grahams: Instead of regular graham crackers, I use Teddy Grahams. They’re already small, bring plenty of graham flavor, and they’re SO cute!
- Large Marshmallows: Each cookie gets stuffed with a whole marshmallow, for WAY more gooey s’mores vibes vs. using mini marshmallows.
Science of Baking Moment: How to Keep These Cookies Thick
A few things are happening here to keep these S’mores Cookies nice and thick:
- Cold butter slows down spreading: Butter begins melting as cookies bake. Starting with cold butter means it takes longer for that butter to melt completely, so the dough has a little more time to begin setting before the fat fully liquefies, helping the cookies hold onto more of their height.
- A higher oven temperature helps set the edges: Baking these cookies at 375°F / 190°C helps the outside begin setting relatively quickly, so you get crisp, golden edges while the middle stays softer and chewier.
- The right amount of flour, sugar, fat, and leavening: Baking is chemistry, and the ratios of these ingredients are crucial for the thickness, chewiness, and overall texture of these cookies. That’s why measuring precisely is so important! Learn more in my Kiersten’s Baking Tips post here.
Tips for Perfect Marshmallow-Stuffed Cookies:
- Measure ingredients carefully: Use a digital kitchen scale to weigh your ingredients (especially the flour!) to avoid dry, hard cookies with no flavor. It’s my #1 tip to improve your baking!
- Use a light-colored baking sheet if possible: Dark baking sheets absorb more heat and can cause the bottoms of cookies to brown more quickly. A lighter-colored baking sheet can give you a little more control, especially when baking at 375°F.
- Don’t overbake: Pull the cookies from the oven when lightly golden brown at the edges but still slightly damp-looking in the middle. They’ll continue setting as they cool on the baking sheet, giving you crisp edges and a chewy middle instead of dry, overbaked cookies.
How to Store S’mores Cookies
Store baked, completely cooled cookies in an airtight container at room temperature for about 4 days.
You can also freeze the unbaked, marshmallow-stuffed cookie dough balls. Place on a baking sheet until frozen solid, then transfer them to a freezer-safe container or bag. Thaw overnight in the fridge before baking as written in the recipe below.

S’mores Cookies FAQs
Can I Use Graham Crackers Instead of Teddy Grahams?
Absolutely! If you don’t have Teddy Grahams (or simply prefer a more traditional s’mores cookie), roughly chop regular graham crackers into bite-sized pieces. Use the same amount by weight as listed in the recipe below.
I like the Teddy Grahams because they save you from having to chop anything, but regular graham crackers will give you the same classic graham flavor.
Can I Use Mini Marshmallows Instead?
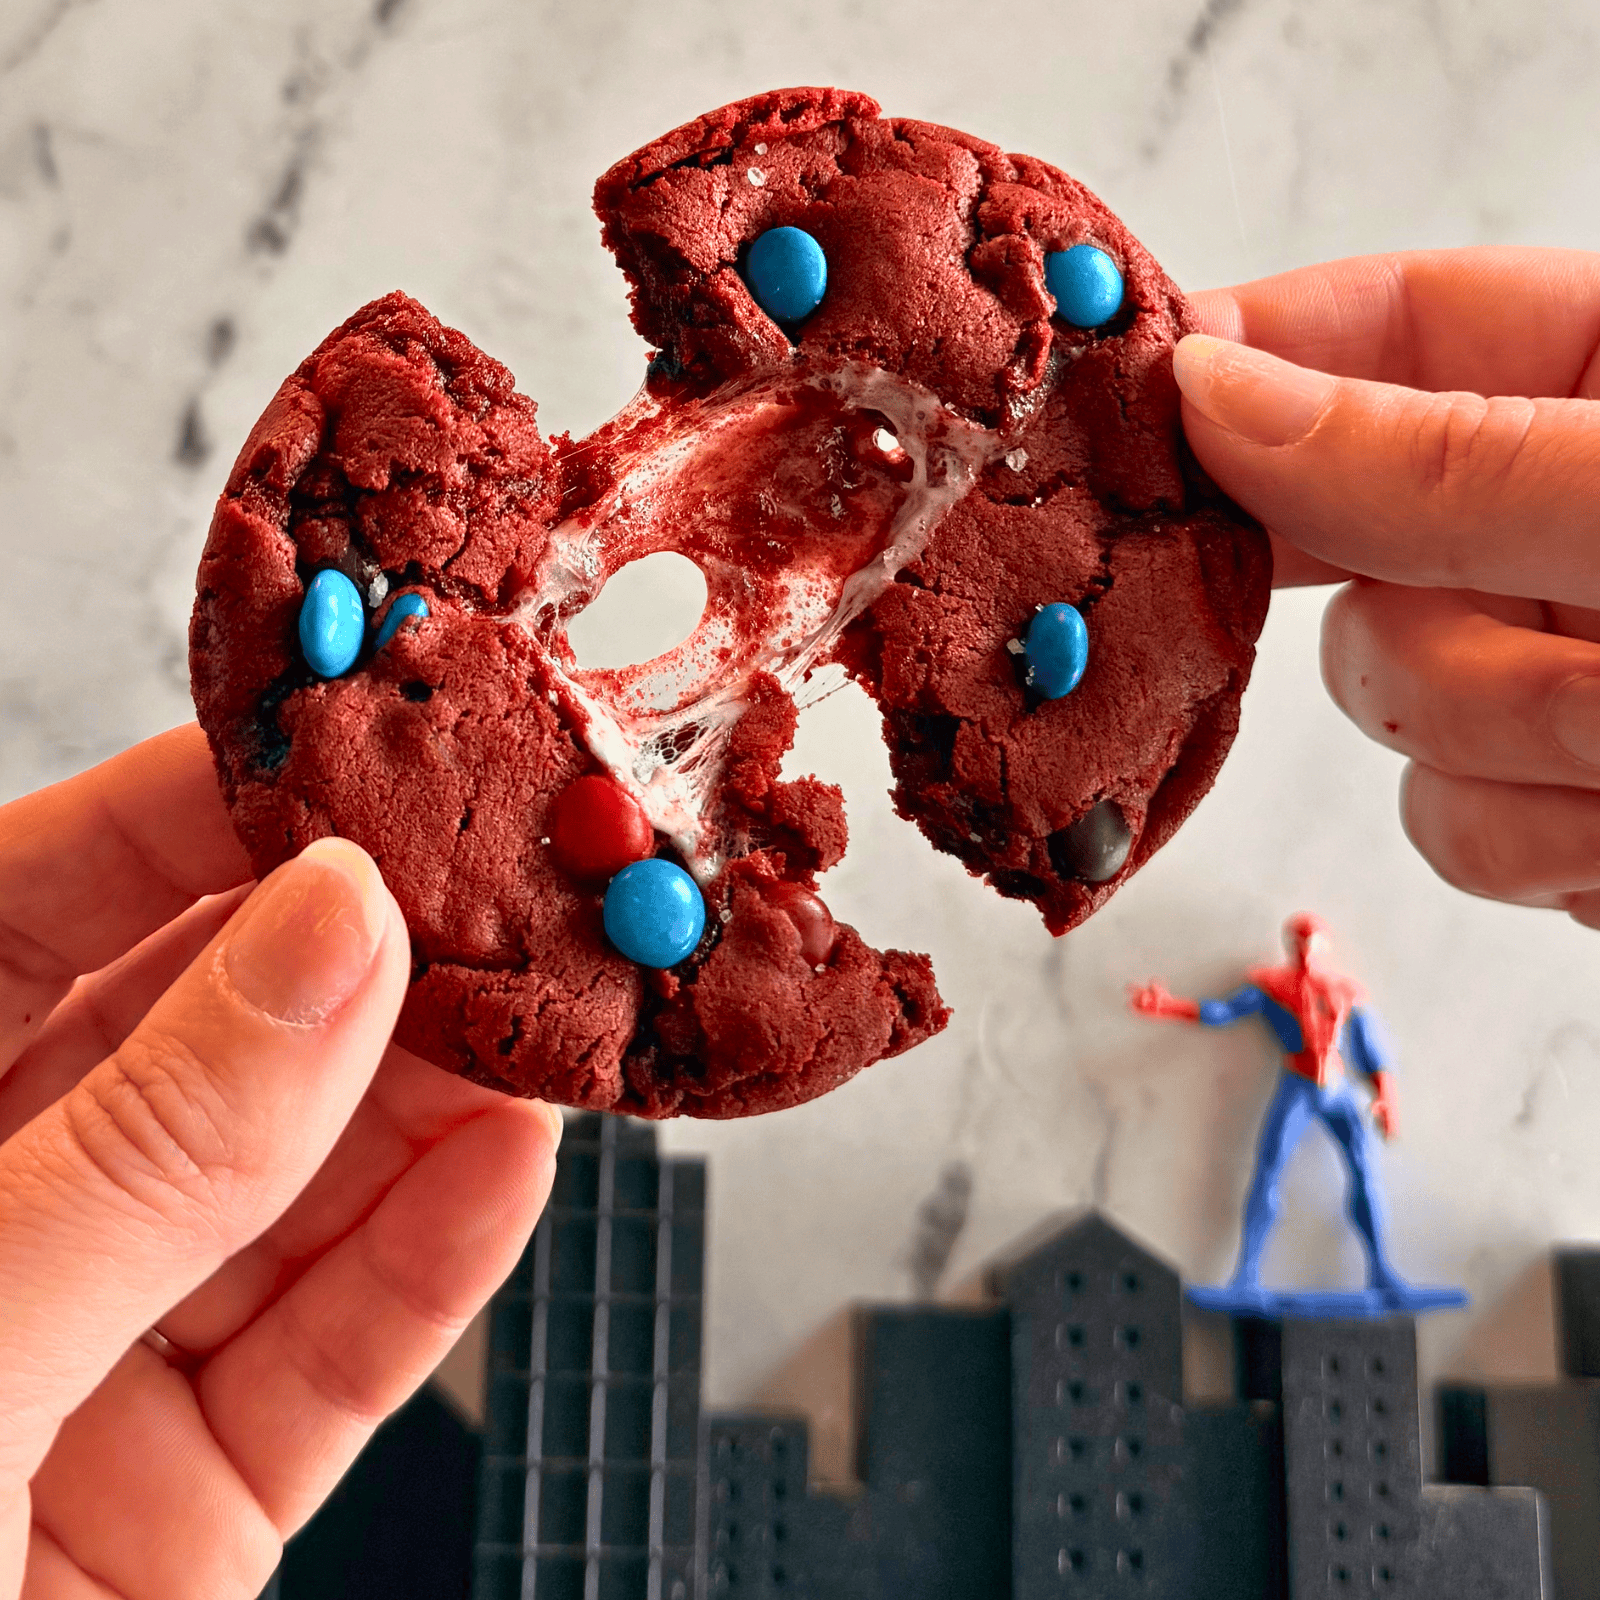
The large marshmallow creates a big, gooey center that gives you a fun marshmallow pull when you break the cookie open.
If you only have mini marshmallows, stuff about 4-5 in the middle of the cookie dough, instead of one larger one, and follow the rest of the recipe as written.
Can I Use Different Chocolate?
Definitely! Using semi-sweet balances the sweetness in the cookies, but milk chocolate will make these taste even more like a traditional s’more. Just keep in mind that the cookies will be a little sweeter.
I love to use a mix of semi-sweet and milk chocolate chips, for the best of both worlds!
Whatever you use, just keep the weight the same as the recipe as written for best results.
Alternatively, feel free to use chopped baking chocolate for big puddles of chocolate goodness. Mini chocolate chips or M&Ms are fine too.
Do I Need to Chill the Cookie Dough?
You can – but these cookies were designed so you can bake right away, for delicious S’mores Cookies ready in no time.
But if you want to level them up, chilling will give you thicker and chewier cookies with a richer flavor. I do recommend an overnight chill if time permits. Simply cover the portioned dough balls well with plastic wrap and refrigerate for 24-48 hours.
Why Did My Cookies Spread So Much?
A few things can cause excess spreading:
- Mis-measured flour
- Butter that became too warm before creaming or before baking
- A warm baking sheet
- A greased baking sheet (parchment paper only – never grease the pan!)
- Incorrect oven temperature
Measuring your flour carefully, watching your butter temp, and baking the dough on a cool baking sheet can make all the difference.
Why Are My Cookies Dry? Why Didn’t My Cookies Spread?
The most common cause: too much flour. Mis-measuring is SO easy to do if you’re not using a digital scale. Switching to measuring with a scale is the BEST thing you can do for your baking!
The other common reason for dry cookies is overbaking. Pull the cookies when the edges are set and lightly golden but the centers still look a little soft and damp. They’ll continue cooking from residual heat on the pan as they cool.

More Summer Cookies to Try:
- Peanut Butter & Jelly Cookies
- Parent Trap Cookies
- Spider-Man Cookies
- Brown Butter Chocolate Chip & Toffee Cookies

Easy Thick & Chewy S’mores Cookies
Ingredients
- 227 grams (2 sticks) unsalted butter, cold and cubed
- 250 grams (1 ¼ cups) light brown sugar
- 100 grams (½ cup) granulated sugar
- 1 Tablespoon vanilla extract
- 2 large eggs PLUS 1 extra yolk, separated when cold, then brought to room temp
- 375 grams (2 ¾ cups + 2 Tablespoons) all-purpose flour, measured accurately
- 1 ¼ teaspoons baking powder
- ½ teaspoon baking soda
- ½ teaspoon salt
- 170 grams (1 cup) semi-sweet or milk chocolate chips
- 75 grams (1 cup) Teddy Grahams, or coarsely chopped graham crackers, if preferred – plus more for topping
- 20 large marshmallows
- Flaky sea salt, for topping, optional
Instructions
- Preheat oven to 375°F / 190°C. Line light-colored rimmed baking sheets with parchment paper.
- In the bowl of a stand mixer fitted with the paddle attachment, place the cold, cubed butter, light brown sugar, and granulated sugar. Start mixing on low and slowly increase to medium-high until light, fluffy, and slightly lightened in color – about 5 minutes. Stop once or twice during this time to scrape down the bottom and sides of the bowl.
- Add the eggs, egg yolk, and vanilla extract. Mix on medium until incorporated, about 1 minute. Scrape down the sides and the bottom of the bowl well.
- Add the flour, baking powder, baking soda, and salt. Mix on low until almost incorporated. Scrape down the sides and entire bottom of the bowl.
- Add the chocolate chips and Teddy Grahams. Mix on low until just combined.
- Using a large 3-Tablespoon spring-loaded cookie scoop, portion the cookies into 20 large balls. If the dough is very soft, place the dough balls in the fridge for about 15 minutes to firm up slightly.
- Using your fingers, flatten each dough ball out to about 3" in diameter. Place a whole marshmallow inside each cookie dough disc and wrap the edges of the dough around the marshmallow, covering most of the marshmallow but leaving some visible on top. Place on prepared baking sheets, marshmallow side up, leaving a few inches to allow for spreading.
- Optional: Place the portioned, stuffed cookie dough balls on a parchment-lined baking sheet and cover well with plastic wrap. Chill for 24-48 hours, for thicker, chewier cookies with a deeper, more developed flavor.
- Bake cookies on prepared pans, spaced at least 2 inches apart, for 9 to 12 minutes, or until lightly golden brown at the edges but still slightly damp-looking on top. Top each cookie with an additional Teddy Grahams, additional chocolate chips, and a sprinkle of flaky sea salt, if desired.
- Allow cookies to cool on pans for at least 15 minutes before serving. Use caution when biting into the center or breaking apart if the cookies are still warm, as the marshmallow will be hot.